Friday, August 6, 2010

back 2 blogger . . . plus a GIVEAWAY!!!

ok, so two months ago i switched my blog from blogger to wordpress.
why'd i move?
  • i couldn't figure out how to work the pages on blogger, and i really wanted pages
  • i wanted to be able to use that wordpress for itouch app that i saw on kristina werner's blog
  • i started on blogger and wasn't sure if i'd like wordpress better
why'd i come back?
  • i figured out how to work the pages feature on blogger :) LOL!
  • i couldn't find a template that really worked best with my blog style that i liked on wordpress. plus it's less amateur user friendly than blogger. it was overwelming, i think if i understood web design more i would have liked wordpress
  • plus blogger has changed in the 2 months i've been gone. the template design feature is so cool and the photo upload is much better.

so that's the back story to this card. now for my normal tutorial, i love that word: tutorial-totally make me sound like i know what i'm doing, right? people kept leaving comments that they liked my tutorials, and i went-oh wow, that sounds cool. i'm going to use that.LOL!


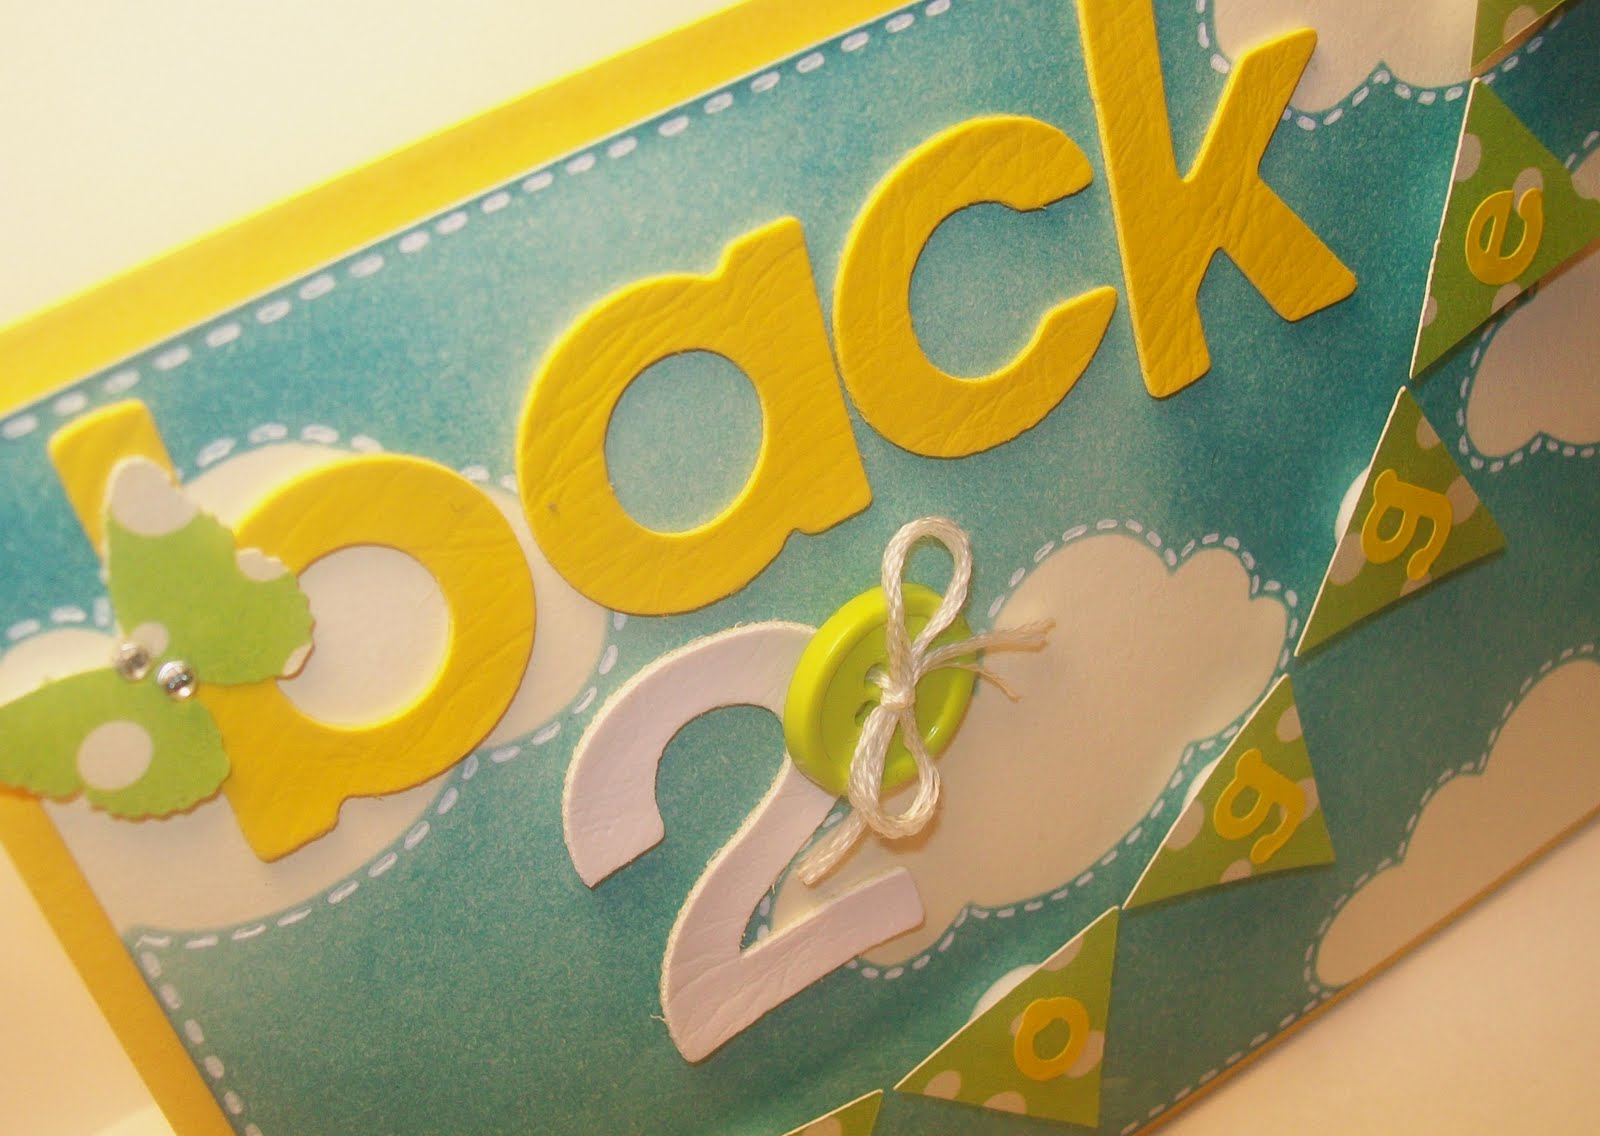
this card started with a sketch, as my cards so rarely do. i also knew i wanted to make a card with a banner since it's so trendy right now. 


to make the clouds i hand drew clouds on scrap paper, cut them out, and glued them to vanilla colored cardstock with tombo mono removable adhesive. 


then i used ranger's distress ink in broken china to color over the clouds to give me the blue sky. 


next i used my white gel pen to add faux stitching around the clouds and around the border of the card. 

for the banner i used my cricket george and basic shapes to cut diamonds at 1 1/2 inch size, then i cut the diamond in half, it gave me the size triangle that i wanted. i used the diamond because using the regular triangle at 1 inch on the cricket was too big for my card. 


then i pulled out three different sticker sets for my sentiment. the large letters are american crafts thickers, and the small yellow stickers on the banner are stickopotumus letter stickers that i purchased from wal mart. (they're really well priced like $1 or $2-something like that. when i'm at wal mart and i see them i try to grab them in a few colors-you can never have too many letter stickers)


then i used pop dots to add the cloud paper to the yellow cardbase. 


at this point i realized the card looked a little plain. so i added a butterfly, using martha stewarts 3 in 1 butterfly punch, and recollections rhinestones, and a little green button (also from walmart) and threaded white embroidery floss through the button and tied a little bow. 

so i'm back on blogger and very happy to be back, and to celebrate i'm having a little giveaway! the prize is making memories just chillin girl collection chipboard stickers and spiral journaling book!


so here are all the ways to win
re-tweet my twitter post about this giveaway
or
leave a comment letting me know your most recent scrap-related purchase
or 
make a card with a banner, and put a link in the comments!

the contest will end august 27th

i want to say a big thank you to all my followers, sorry for the back and forth. i won't be changing my blog again any time soon-promise. thanks for sticking with me
thanks for looking! 
blog ya later


i'm coming back

hello everyone. i'm going to do an official post later but i just wanted to say really quick that i didn't like wordpress, and i'm coming back to blogger.
so i'm going to celebrate by posting a tutorial and having a giveaway!
thanks to all my followers-sorry for all the back and forth, and i hope you guys will stick with me.

Wednesday, June 30, 2010

i've moved!

sadly i'm saying bye bye to blogger. my blog has moved to wordpress. which actually isn't sad at all it's pretty exciting, because i LOVE the way my new blog looks. it's so modern and sophisticated-in my humble opinion. LOL!
so this card is of course inspired by the move, to see my usual tutorial on how i made it, check out my new blog . . . HERE!

i am always amazed that anyone would think that my blog is worth following, but i'm so grateful for all of my followers. thanks so much for following my blog, and i hope you'll check out my new blog at wordpress.
(i'm working so hard to make it cool and interesting-and i have pages now, yes because one page of my dorky personality just wasn't enough. my new blog has so much more of my goofy-ness.)

if anyone is thinking of changing from blogger to wordpress and you have questions let me know. i'd be glad to share anything i've figured out so far.

as always thanks for looking,
and i'll blog ya later!


Saturday, June 19, 2010

yippee!!!

for this card i started with a standard sized 5 1/2 by 4 1/4 white cardbase, navy cardstock and printed paper from cosmo cricket's joy ride collection.

i cut the designer papers to fit the cardstock. as usual for me i didn't measure i just kept cutting the navy cardstock till i had the sections of the card blocked off the size that i wanted them. then i cut the printed paper to fit inside the navy cardstock. (i hope that explanation makes since-sorry if it doesn't)


i used fiskars scalloped sentiment punch to punch a white scallop, and adhered it to the yellow print paper with tombo mono glue.

once i had my panels set i decided i wanted my main image to be a little car. so i sketched a car on the navy cardstock. i used tombow mono removable adhesive to glue the car to the printed paper. i used my fiskars cutting blade to cut out the windows. i used mini glue dots to adhere the buttons for the tires, and outlined the car with faux stitching with a white gel pen. i used tiny strips of black cardstock to make door handles, and attached the car to the card with martha stewart foam adhesive.

i cut the little puff of smoke free hand from white cardstock, and attached with pop dots, because they're not as raised as the martha stewart dimensional adhesive.


then i adhered brads to the card. i marked where they needed to be placed with a pencil, then used my crop a dile to punch the hole.

the card look kind of quirky and fun, and i didn't quite know what sentiment would work best for it. but i found it on a hero arts stamp set, simple quirky and fun: yippee!!!


i cut the star with my cricket, then stamped little starbursts with colorbox orange chalk ink. then stamped the sentiment with black ink.

i used my xyron sticker maker to attach the white star to the navy shadow star. then attached to the card with pop dots.

i hope everyone is enjoying their weekend.
by the way, i just started using my twitter account so if you have a twitter leave a link in the comment below i would love to follow you and feel free to follow me if you want.

thanks for looking
blog ya later!

Sunday, June 13, 2010

wishing you lots of everything wonderful

after starting and throwing away three cards, i realized something was off. i wasn't coming up with anything good. so i decided to just do a clean and simple card.
basic and easy just so i could make one card that was a keeper :)

i started with black cardstock, cut and scored to a standard sized card 5 1/2 x 4 1/4. then i cut a strip of white cardstock.


i tied black ribbon around the white cardstock, then slid the ribbon up to the top of the cardstock so that i could stamp the sentiment, using black colorbox chalk ink. the stamp is hero arts huge hugs stamp set.

the butterfly sticker is from a cute sticker set that i got at target. i love the bright colors and glitter on the flowers and butterflies.

the queen and co. photo turns are an embellishment i haven't used in soooooo long, but i absolutely love them.

i used a glue dot to secure the knot of the ribbon in place. then adhered the white cardstock to the card base.


the brads are recollections rhinestone brads. i keep them, and a lot of other small embellishments in a making memories small embellishment organizer box. i used a pencil to mark where i wanted the brads placed.


simple, easy, and it broke my awful streak of horrible cards.
thanks for looking!
blog ya later

Sunday, May 30, 2010

cards blog window card challenge

there's a new challenge on the cards blog to make a card with a window. inspired by this super cute macm card done by kristina werner

challenge is the best way to describe this card making experience, because i had several of them while making this card. when i began this card i knew it would include 3 things: a window, a flower box outside the window, and a brick background as the outside of the house. but i had no idea what i was going to do for flowers because i knew i didn't have any small enough. but i decided to just start with what i knew and figure out the rest as i went along.

so i started by sketching out my idea. and cut my cardbase to a standard sized card 5 1/2 x 4 1/4


then using the fiskars dry embossing plate with the brick pattern i embossed the front of the card. if you have a cuttlebug or big shot embossing is much faster and easier, but i don't have one so i do it the old fashioned way :)


then i used vintage photo distress ink to shade the bricks to make them look more natural.

first challenge: arched window. i didn't want a square, but i didn't have a template for an arched window. so i cut a 4 1/2 inch oval on my cricket with the george and basic shapes cartridge. and used my fiskars paper trimmer to cut the bottom half of the oval off. ureka!


then i sketched the four window holes on the frame. i used removable adhesive to hold the cardstock in place while i cut out the window holes. i used the fiskars craft knife to cut. i couldn't have make this card without this blade, because it allows you to get close and not accidentally cut something you didn't mean to. i just purchased it on my last shopping trip and i'm so glad i did!


so once i had the template i needed to cover it with the window frame. which meant i had to decide what colors i wanted to use, and for some reason this took forever with this card. the simple act of picking papers-sad, really. i finally decided on grey cardstock, and used the flip side of the fiskars dry embossing plate which had a stone pattern. i used my cricket and cut another 4 1/2 inch oval from the grey cardstock and glued my template to the cardstock and cut out the window.


then i cut clear acetate to make the window glass, and glued to the frame.


next challenge how to make the window box. i cut a rectangle from the grey cardstock, and embossed with the stone pattern. then cut the sides at an angle and added a strip of black cardstock across.

then on to the biggest challenge, i needed flowers! then i remembered watching vickypgr make paper flowers on a mother's day card, and i thought-PERFECT! i'll put roses in my window box.


the first three flowers i tried came out horribly, then i finally got the hang of it. i used my fiskars large circle punch on red cardstock, then cut in a spiral, and then used the small round file from basic grey's precision filing kit to wrap the cardstock around. (you can also use a thin paint brush like vickypgr does in the video). i used glue dots to secure the bottom of the flower.


then i cut leaves from a scrap of leftover green cardstock.


since the window was from the outside looking in, the next challenge was to create curtains and the wall paper. again i cut ovals using my cricket, then free hand cut the curtains, and glued all three layers together.


i finished off the card by cutting strips in green cardstock to make grass, using martha stewarts 3 in 1 butterfly punch to cut out butterflies. i adhered the window box with martha stewart foam adhesive, i added faux stitching to the window box with a white gel pen, and used a hero arts stamp for the sentiment.
super challenging, and a whole lot of fun to make
thanks for looking
blog ya later!